Furnace Repair Springfield: How Delayed Repairs Increase Energy Bills in Winter
Winter in Springfield Illinois places serious demands on every heating system. A furnace works nonstop to maintain home comfort during freezing temperatures. When early warning signs are ignored, energy waste begins quietly. Keep reading to understand how delayed furnace repair increases winter bills and why timely HVAC service protects comfort and long term savings.
Why Furnaces Lose Efficiency When Repairs Are Delayed
Every furnace within a modern HVAC system is engineered to operate within strict performance ranges. Components such as burners, blowers, and heat exchangers must work together for proper heating and cooling efficiency. When even one part starts to fail, the entire heating and air system becomes strained.
Restricted airflow reduces heat transfer. Combustion becomes less efficient. The heating system compensates by running longer cycles to satisfy the thermostat. Longer runtimes increase fuel use and electrical demand, pushing energy costs higher.
Motors draw more electricity. Sensors struggle to regulate temperature. Heat exchangers transfer less warmth into air ducts. These issues often begin small but escalate quickly without HVAC repair.
For homes in Springfield, delayed furnace repair leads to:
• Increased energy consumption
• Reduced heating efficiency
• Inconsistent indoor temperatures
• Accelerated wear on HVAC components
These inefficiencies affect both residential heating systems and heating services for home or business environments.
Common Winter Problems That Drive Energy Waste
Cold weather in Springfield HVAC systems exposes existing weaknesses. Minor issues can become major efficiency problems when heating and cooling systems operate continuously.
Some of the most common energy draining problems include:
• Dirty burners causing incomplete combustion
• Worn blower motors moving less air through air ducts
• Failing igniters delaying heat cycles
• Loose duct connections wasting heated air
Each problem forces the furnace to work harder to reach the thermostat setting. When airflow drops or ignition becomes unreliable, the HVAC system compensates by running longer and cycling more frequently.
High efficiency systems lose their advantage when routine maintenance is skipped. Even advanced heat pump and air conditioner setups depend on clean components and balanced airflow to deliver comfort and energy savings.
How Inefficient Heating Impacts Monthly Costs
When heat output drops, the thermostat sends repeated signals for more heating. This creates longer run times without improved warmth. Homeowners often respond by raising thermostat settings, which further increases energy use.
Higher gas or electric consumption leads to unpredictable winter bills. Over time, excessive strain damages internal components and increases the likelihood of HVAC repair or even replacement.
Inefficient heating also impacts indoor air quality. Restricted airflow allows dust and debris to accumulate in air ducts, reducing overall system performance and comfort.
Without professional HVAC service in Springfield, small inefficiencies become ongoing financial drains throughout the winter season.
Short Cycling and Its Hidden Cost
Short cycling occurs when a furnace turns on and off frequently without completing full heating cycles. This problem often stems from airflow restrictions, thermostat issues, or sensor malfunctions.
Each startup requires a surge of energy. Frequent cycling reduces overall efficiency and shortens the lifespan of the heating system. It also causes uneven temperatures across the home.
Short cycling can affect:
• Furnaces
• Heat pumps
• Air conditioners during year round use
Addressing these issues early helps maintain stable heating and cooling services while avoiding costly HVAC repair.
Why Early Furnace Repair Matters During Winter
Prompt furnace repair restores airflow balance, combustion efficiency, and accurate thermostat control. A properly operating HVAC system delivers consistent heat with fewer cycles and reduced energy use.
Early repairs prevent mechanical issues from spreading to other components. This protects the HVAC system, improves indoor comfort, and stabilizes monthly energy costs.
Professional technicians diagnose and repair problems before they affect the entire heating and cooling system. Skilled technicians ensure safe operation and reliable performance during the coldest months.
For additional winter preparedness insights, our article: Emergency Furnace Repair In Nixa Mo explains how fast response prevents heating emergencies during extreme cold.
Professional HVAC Service Protects Long Term Comfort
A trusted HVAC company in Springfield provides more than furnace repair. Comprehensive home services include installation and repair, plumbing services, water heater repair, air conditioning repair, and indoor air quality improvements.
Family owned HVAC contractors understand the heating and cooling needs of homes in Springfield. Expert HVAC technicians focus on customer satisfaction, superior service, and long term system reliability.
Routine maintenance helps prevent emergency service calls. Installation services ensure high efficiency equipment performs as designed. Repair and installation services extend the life of HVAC systems across the HVAC industry.
Schedule Professional Furnace Repair Before Costs Rise Further
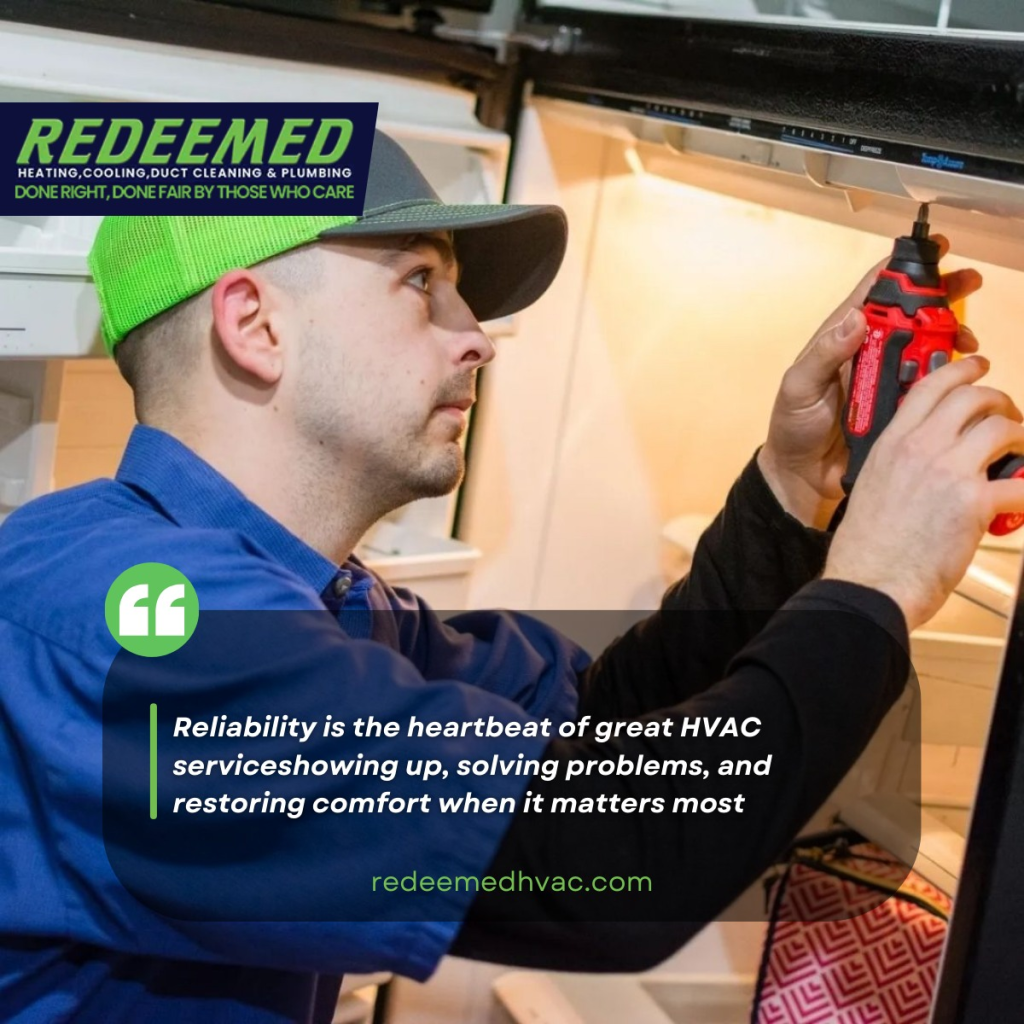
When winter energy bills climb, furnace performance is often the root cause. Redeemed HVAC is a great company providing trusted furnace repair in Springfield for homeowners experiencing efficiency loss, rising energy usage, or uneven heat.
As a family owned HVAC company serving Springfield Illinois, we deliver expert HVAC service with skilled technicians who diagnose and repair heating systems quickly and accurately. Our heating and cooling services support home comfort year round with high efficiency solutions that balance comfort and energy savings.
Call today to schedule your service call and restore reliable heating before winter costs rise further.
Redeemed HVAC
10224 W Farm Rd 178, Republic, MO 65738
(417) 241-5687